
Blog
How to design and install an underground irrigation system in your garden: guidelines and useful tips
14 September 2023
We know who you are: you love to take care of your lawn and would like to start with the installation of its automatic irrigation system, but the idea of getting a few steps wrong is holding you back. Well, thanks to this article you will realise that actually designing and installing a small irrigation system for your garden can be easier than you might think.
In order to start planning the system, some basic information will be needed from the garden.
Before we begin: the data required
The first piece of information required is a drawing of the garden to scale: you will need to write down the dimensions of the garden on a sheet of paper, preferably graph paper, measuring all sides with a tape measure.
Example:

The second key piece of information is the amount of water available, hereafter referred to as the flow rate, and the water pressure.
To determine the first, i.e. the flow rate, a very simple procedure must be followed: all you need is a container – a common bucket will do – of known volume. You time how long it takes the water outlet where you will connect the irrigation system to fill the bucket. To avoid system malfunctions, a minimum flow rate of 25 l/min is recommended.
Example:
Bucket volume: 5 litres
Filling time: 10 seconds
Scope: [ 5 litres / 10 seconds ] x 60 = 30 l/min
In our example the tap takes 10 seconds to fill a 5 litre container this means that the flow rate available to our system will be 30 l/min.
In order to measure the pressure we will need to get a pressure gauge, connect it to the same water outlet as before and open the tap: this reading indicates the static pressure available. The minimum pressure required for proper operation of the irrigation system ranges from 2.8 to 3.0 bar, while the maximum pressure should not exceed 5.5 bar.
Example:
Pressure gauge reading: 3.2 bar
At this point, you will have gathered all the essential data and will be ready to design your irrigation system. Before proceeding, we recommend you read our article The characteristics of an irrigation system to better understand the terminology used here.
Planning and installation of the system: the steps
1. Choice of sprinkler
The choice of sprinklers is made according to the distance to be covered: if your garden is 7 metres long, you should opt for a sprinkler with a range of approximately 7 metres. This information can easily be found in the technical data sheets of the sprinklers. If you need a little more detail on existing sprinkler types, we suggest you consult Static, dynamic and low-power sprinklers: differences and benefits.
2. Sprinkler distribution
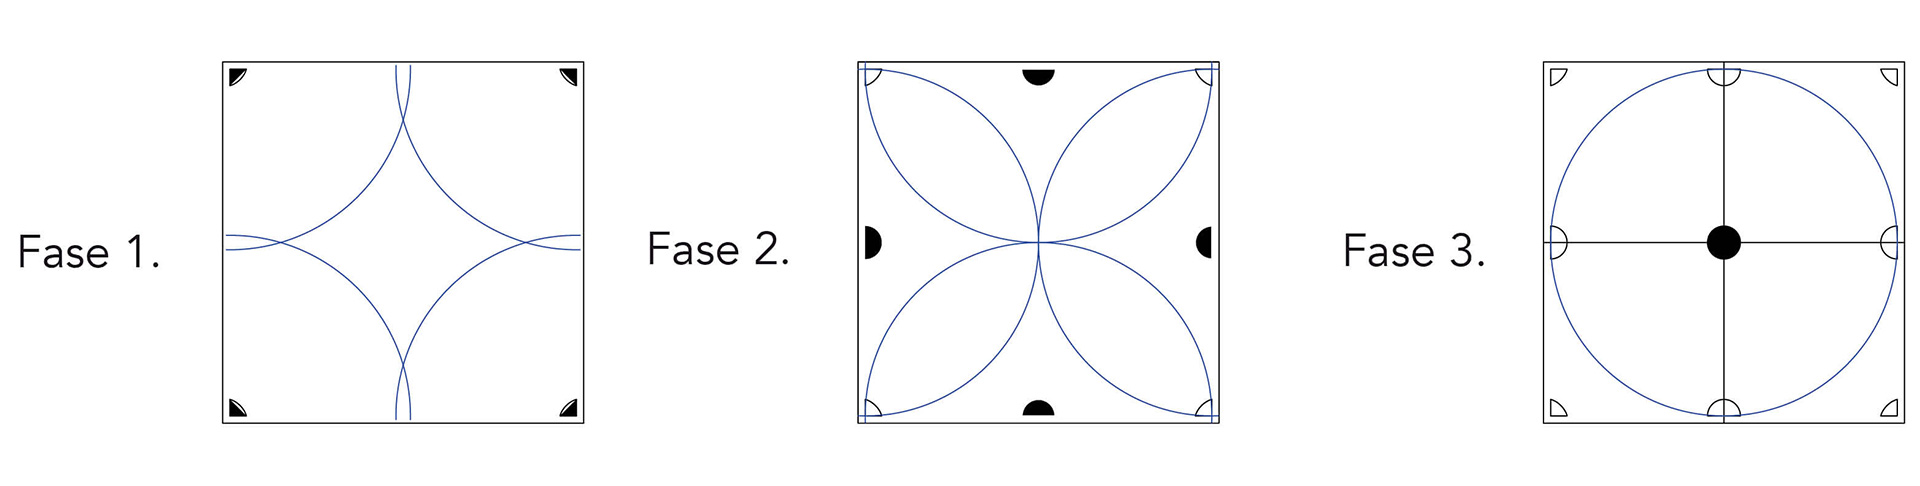
Once the sprinklers suitable for your lawn have been identified, they must be arranged on the design following the ‘head-to-head’ layout: this term means that each sprinkler must be able to wet the head of its closest neighbour, so as to ensure an even distribution of water.
Example:
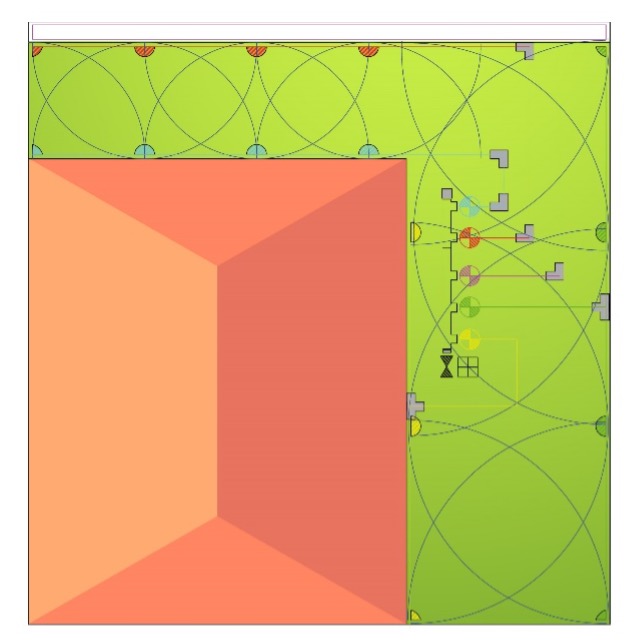
In our example it was necessary to use 8 spray heads with a throw of 4 metres and 7 rotors with a throw of 7 metres.
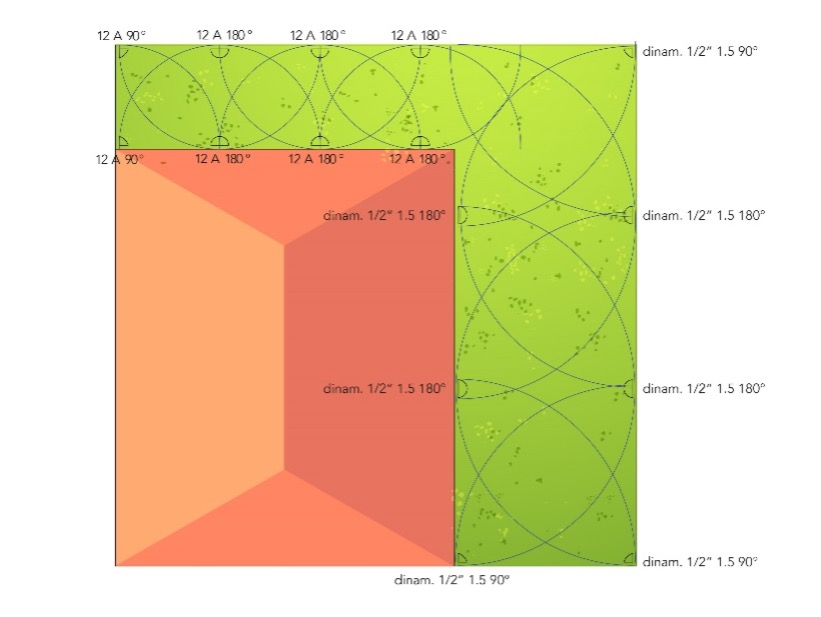
CALCULATION OF SPRINKLER FLOW RATES:
SPRINKLERS
No. 2 sprinklers with 12 A 90° regulated heads
No. 6 sprinklers with 12 A head, 180° adjustable
TOTAL = 47 l/min
SPRINKLERS
No. 3 sprinklers with nozzle 1.5 adjusted at 90°
No. 4 sprinklers with nozzle 1.5 adjusted to 180°
TOTAL = 40 l/min
3. Zoning
Unless the turf is extremely small, there will almost certainly not be enough water flow to water it all at once. Irrigation will therefore necessarily have to be divided into zones (also called sectors).
It will therefore be necessary to divide the total flow rates of the sprinklers by the flow rate at our disposal reduced by approximately 10%-15% to ensure the proper functioning of the system..
Example:
In our example, the sprinklers consume a total of 47 l/min while the rotors consume a total of 40 l/min. The available flow rate is 30 l/min, to be reduced to 25 l/min for safety.
SPRINKLER SECTORS
47 l/min ÷ 25 l/min = 2 zones
SPRINKLER SECTORS
40 l/min ÷ 25 l/min = 2 zones
4. Trench Digging
At this point, it is time to roll up our sleeves and get into the field: to install the irrigation system, we will need to dig the pipe routes and the valve box area near the water connection, with a depth of 30-40 cm.
5. Arranging Components
Once the trenches have been dug, it will be time to lay the pipes in the recesses in the ground, connecting the pipe sections to each other with fittings, and then install the sprinklers according to the plan.

6. Installation of solenoid valves
Finally, all that is needed is to position the solenoid valve manifold by connecting the inlet of the manifold to the water outlet and the solenoid valves to the zone piping.
We hope you found our mini-guide on how to design and install an automatic garden irrigation system useful: follow it step by step and we are sure you will have no problems!
Discover the latest innovations
in irrigation systems!